Hosting a static website on AWS
To try and keep my hosting costs down, I decided to redevelop AWSSecurity.info and publish it as a mkdocs site, instead of WordPress. This is allowing me to host the site on S3 with CloudFront, rather than keeping an EC2 instance active all the time.
In this post, I will share with you details of how I achieved this.
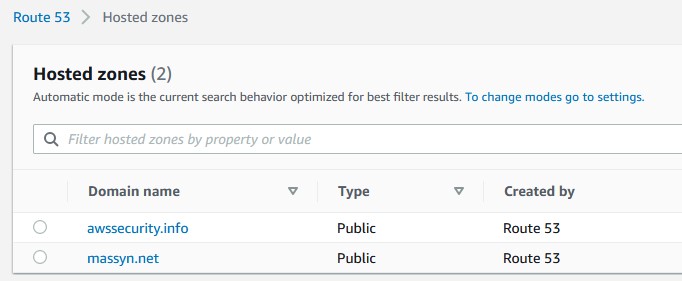
Route 53 - Hosted zone
Everything starts with having your domain on Route 53](https://aws.amazon.com/route53). You don't need to have it registered through AWS, but you do need to have the domain hosted.
Why ??
Having the domain in Route 53 makes the process of requesting for certificates much easier.
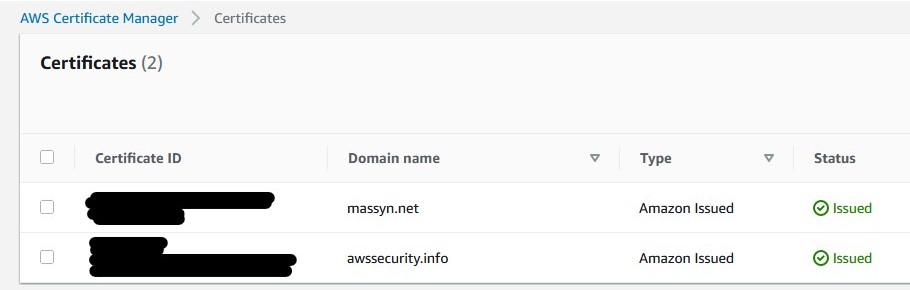
Certificate manager - Create a certificate
The Amazon Certificate Manager service is used to provision a certificate. We need this to set up TLS on the site.
Why?
You may argue that since it is a static site, you don't need to have TLS enabled on your site. You'd be wrong. TLS is not just used for encrypting data. It also gives your audience the confidence that they in fact connecting to your site. It also prevents other parties from injecting their own through your web site, not to mention, it also improves your Google search ranking! See Why http is bad.
When creating your certificate, you must be in the us-east-1 (North Virginia) region.
Why?
We will be creating a CloudFront distribution, and being a global service, you need to have a certificate in the global region.
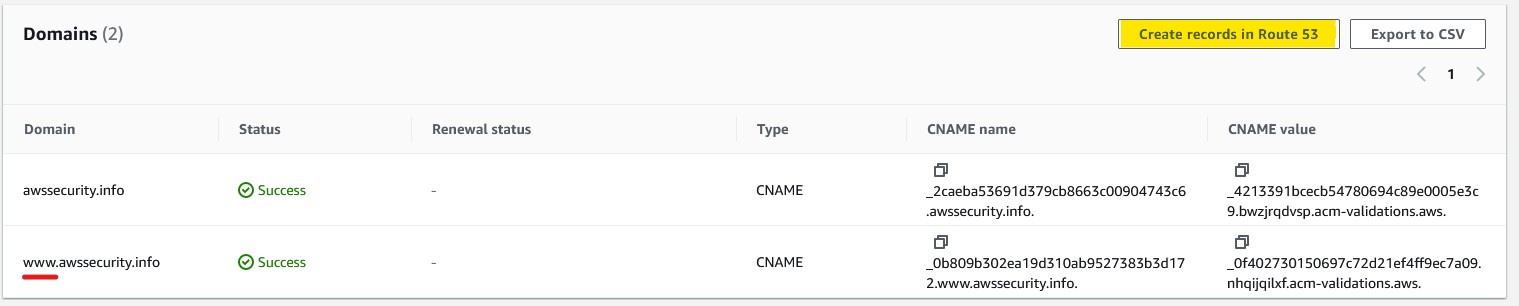
One thing to keep in mind - when you're creating your domain, you may want to link multiple sub-domains to the same certificate. In my case, I'd like the root domain, as well as the subdomain of www to use the same certificate. Define this in the certificate manager, and to help with the validation process, you need to create the DNS entries in Route 53.
S3
The content lives in an S3 bucket. If you don't have a bucket yet, go ahead and create one, and upload your content. You may be inclined to enable the static website hosting option in S3, but that's not necessary. When you create your CloudFront distribution, you'll be given the option to create a specific bucket policy
Cloudfront
CloudFront needs a bit more configuration. Something I learned, is that CloudFront does not behave like a traditional web server. One thing I found is that while the root site will serve index.html, any other folder on your site does (not unless the server in front of it serves a default index.html file.) When you point your CloudFront distribution to an S3 bucket, keep this in mind. You may have to explicitly link your HTML files to specific files, rather than assuming a default index.html file will be served.
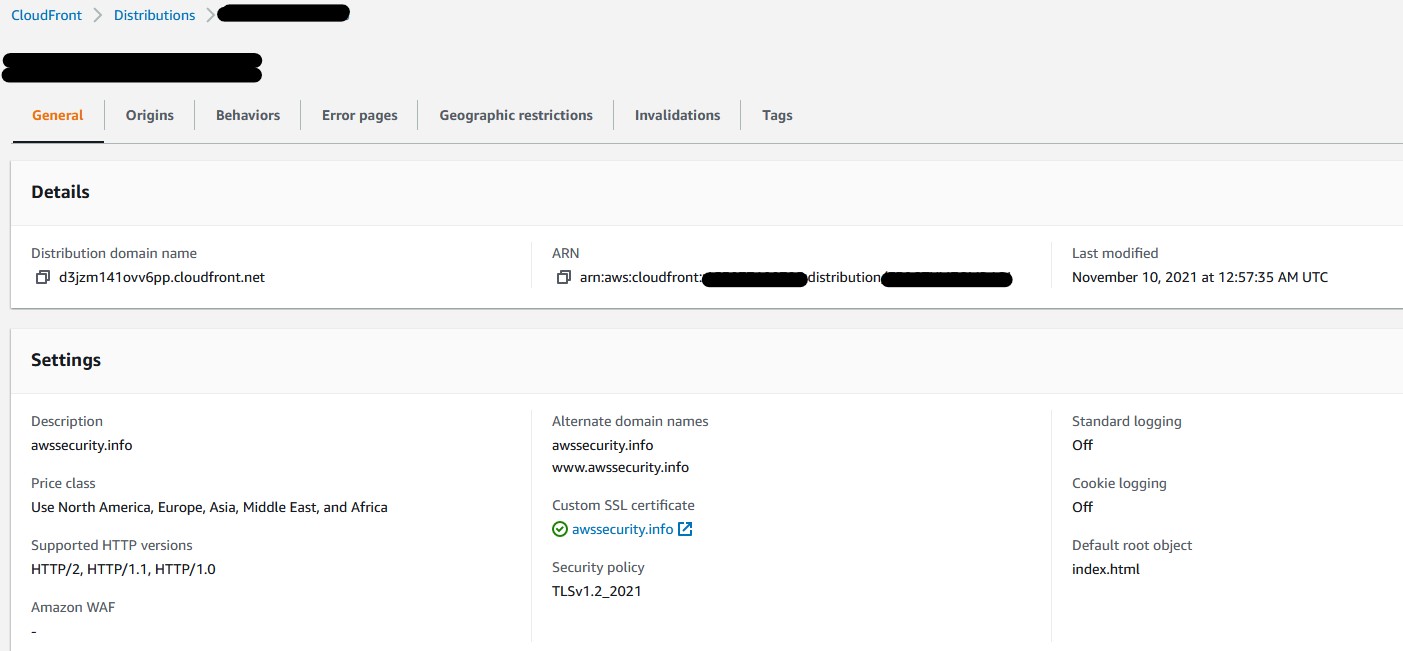
General Settings
- Price Class - Use North America, Europe, Asia, Middle East, and Africa
This is a good balance for me in terms of cost, and performance. Adjust to suite your taste (and budget!)
- Amazon WAF web ACL - optional - Not in use
- Alternate domain name (CNAME) - optional - Specify domain name, as well as the www.domain name names.
- Custom SSL Certificate - optional - Select the certificate you created in Certificate manager earlier.
- Legacy Clients Support - DO NOT SELECT THIS! (unless you want to pay $600p/m for it!)
- Security Policy - Select the recommended TLS v.1.2_2021 (recommended)
- Supported HTTP versions - Select HTTP/2
- Default root object - optional - Enter index.html
- Standard logging - Select Off. Turning this on will incur additional costs.
- IPv6 - it's your call if you'd like to support IPv6.
Origins Settings
- Origin Domain - Select the S3 bucket you used
- S3 bucket access - Select Yes use OAI (bucket can restrict access to only CloudFront
- Origin access identity - Create a new OAI.
- Bucket Policy - Select Yes, update the bucket policy
Behaviors Settings
- Path Patten - Default (*)
- Compress objects automatically - Yes
- Viewer protocol policy - Redirect HTTP to HTTPS
Not all users will directly open your site in HTTPS. If they don't, we flick them over to the secure channel.
- Allowed HTTP methods - In most cases, you'd only use GET, HEAD
- Cache policy and origin request policy (recommended) - Selected
Once all of this is done, you should be able to visit your site's CloudFront DNS entry.
Route 53 DNS entries
When the CloudFront distribution has been created, you need to set up an alias in Route 53](https://docs.aws.amazon.com/Route53/latest/DeveloperGuide/routing-to-cloudfront-distribution.html) to the CloudFront distribution.
Create the alias for both the domain and the www.domain entries in Route 53. Be sure to pick the alias option, and then select the CloudFront distribution. I
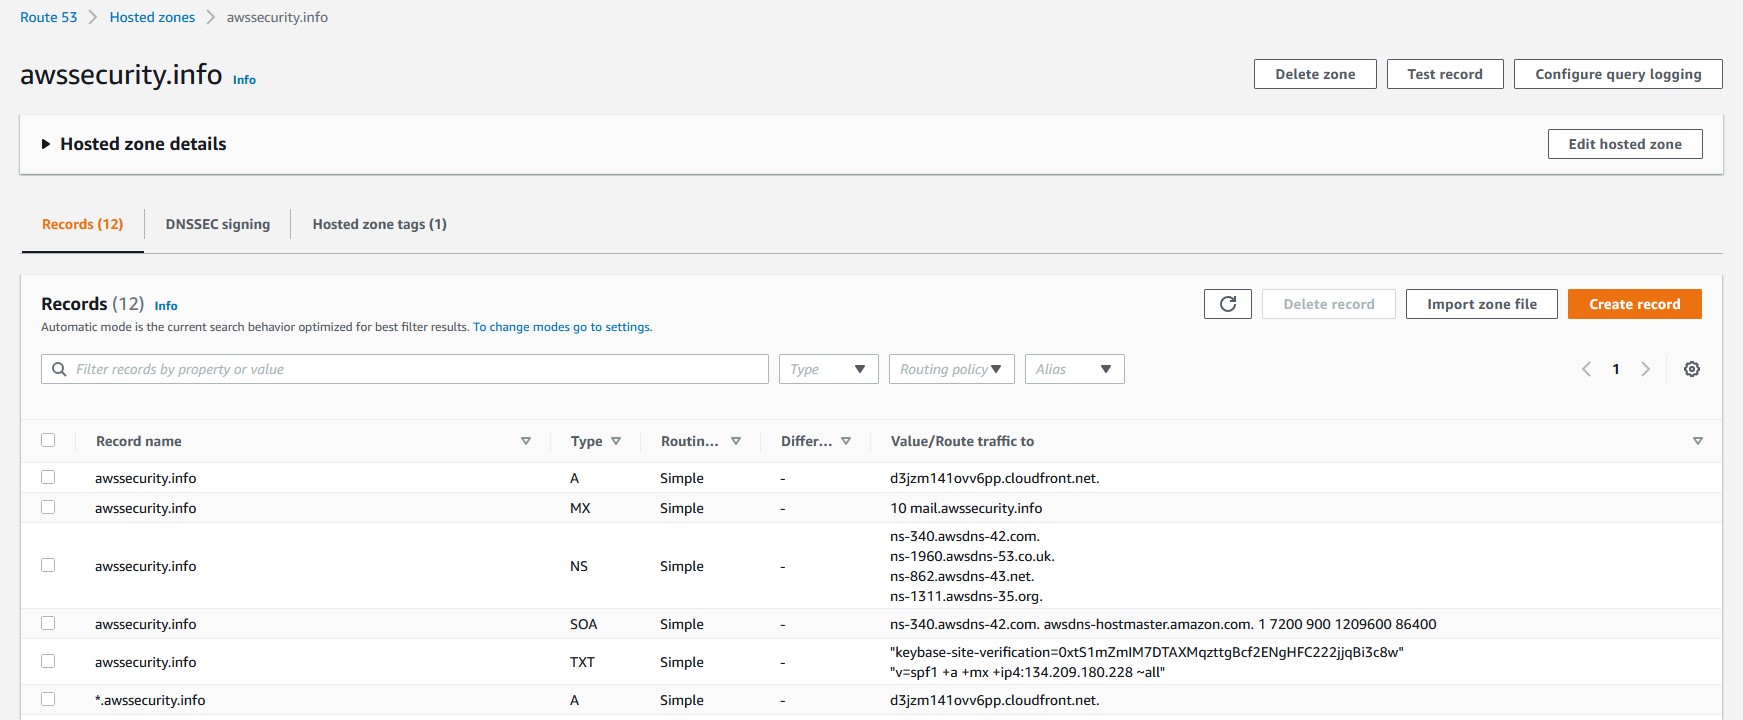
(Why am I not hiding this information? You can query it all through nslookup anyway - there's nothing private in here.)
Summary
And that should be it! If you did everything right, you should be able to connect to your website, and everything should be served correctly. Just keep a few things in mind.
- DNS can take some time to replicate. When in doubt, change the TTL of your Route53 entries to around 300 to allow you time to troubleshoot.
- When in doubt, try to access the CloudFront distribution through its DNS URL. If there's a problem with CloudFront from getting to the S3 bucket, it would be obvious at this step.